With its integration with Hyperliquid, MevX means the big stride of traders to fast and decentralized trading. Combining the best performance from Hyperliquid with MevX’s adaptive, multi-chain trading environment will make the user experience incomparable. Here is a step-by-step guide on how to use Hyperliquid on MevX.
Step-by-Step Guide on How to Use Hyperliquid on MevX
1. Log in to MevX
To begin trading Hyperliquid on MevX, log in to your MevX account. If you’re new to the platform, creating an account is quick and straightforward. Refer to the guide titled MevX: Automated Trading in Seconds for detailed instructions on setting up and accessing your account.
2. Configure Your MevX Account
Tailor your trading with our advanced account settings. At MevX, you’ll be able to tailor-make the trading bot according to your strategy and goals.
3. Connect a Wallet to MevX
Connection of the wallet is a must for managing your funds and executing the trade. You can link an already-prepared wallet or even create a new one directly on MevX.
4. Deposit Funds into Your Wallet
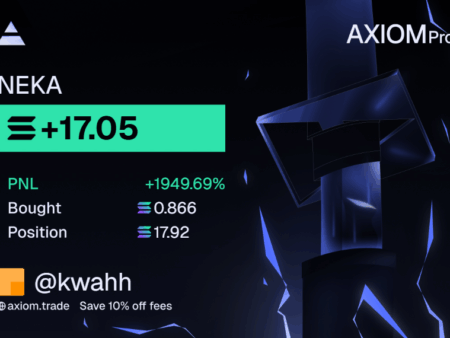
Fund your wallet with some money to be able to trade Hyperliquid tokens on MevX. Transfer USDC via some secure exchange like Binance. Reconfirm that the fund is sent to the correct wallet address on the same blockchain network.
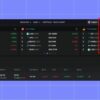
5. Select Hyperliquid on MevX
Navigate to the trading section of MevX and choose Hyperliquid from the list of supported blockchains. MevX’s multi-chain support now includes Solana, Ethereum (ETH), Binance Smart Chain (BSC), TRON, BASE, and Hyperliquid, providing a wide range of trading options.